Zapier - Getting Started Guide
- Bhavin Sanghvi
- Mar 26, 2024
- 3 min read
A guide to help you get going on Zapier integration with Qryptal
This step by step guide will help you sign up for a free trial Qryptal account and configure Zapier integration to generate Secure Verifiable Documents.
Account Setup
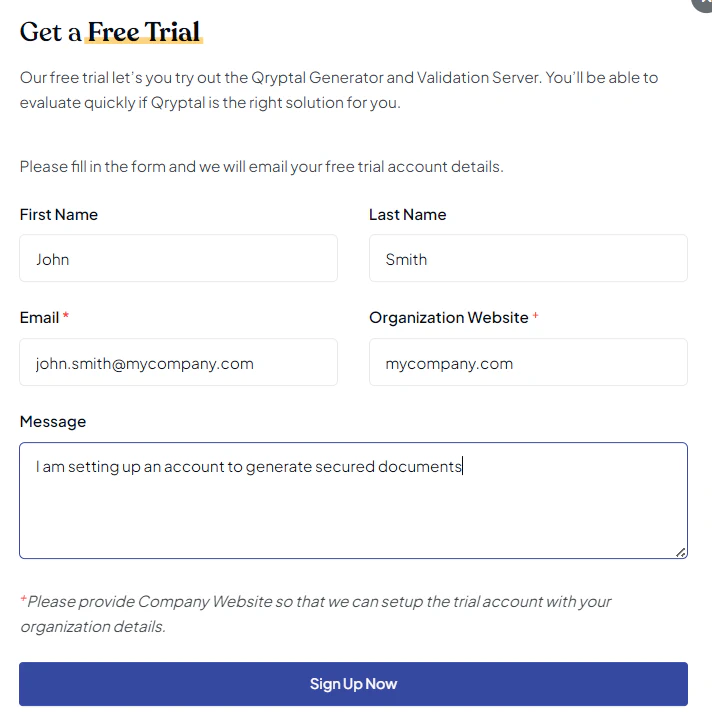
Visit www.qryptal.com and click on the “Get a Free Trial” button on the top-right corner.
Fill in the details and click on “Signup now”
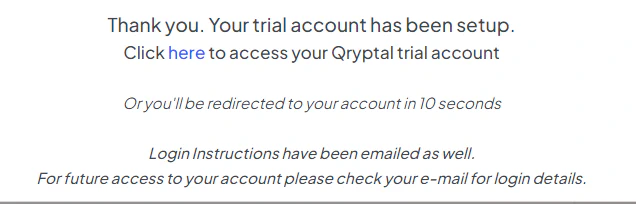
Your trial account is now created, at this stage, you will be able to create some QR codes to get familiar with the system. You need to complete a few more setup tasks to make your account fully functional and ready for Zapier integration.
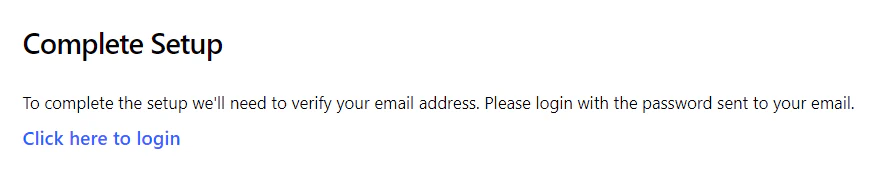
Click on “Complete Setup” and if prompted login using email address and password delivered to your email address.
- At this stage, there are two options to proceed ahead. Please use this table to make the correct choice.
| Organisational Account | Individual Account |
|---|---|
| Need to configure CNAME under DNS panel for your organisation’s domain(DNS=Domain Name System) | No DNS configuration is required |
| Your organisation specific verification domain will be used for verification. E.g. verify.example.com | All documents will be verifiable at verifydetail.com |
| Your verification domain (e.g. verify.example.com) is presented as the source of information upon verification. | Your email address is presented as the source of information upon verification. |
| Recommended if you are implementing at an organisational level and you have the ability to amend DNS records. | Recommended as the simplest and default option requiring minimal setup. |
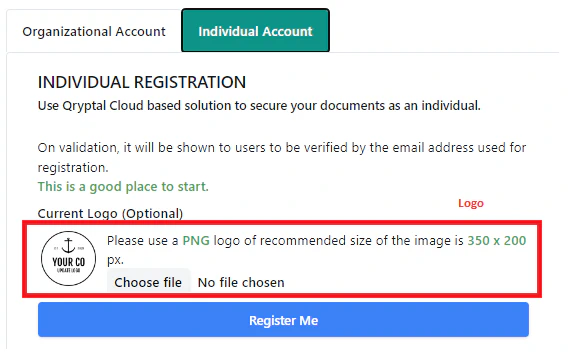
- Complete the setup as per the screen grabs provided here.
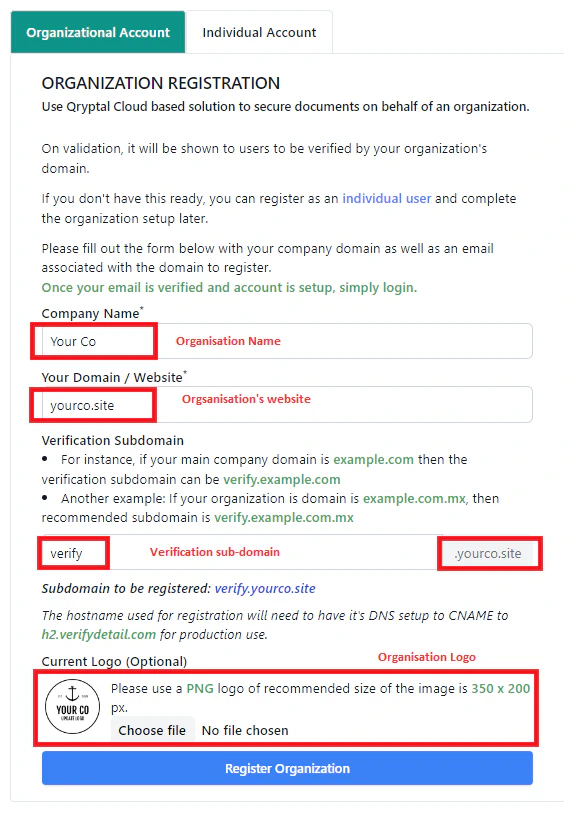
After registering for an Organisational account, complete the CNAME setup in your DNS as per the instructions provided.
- Visit setup page at https://dash2.qryptal.com/user/workflow/settings/setup/#integrations to enable Zapier integration.
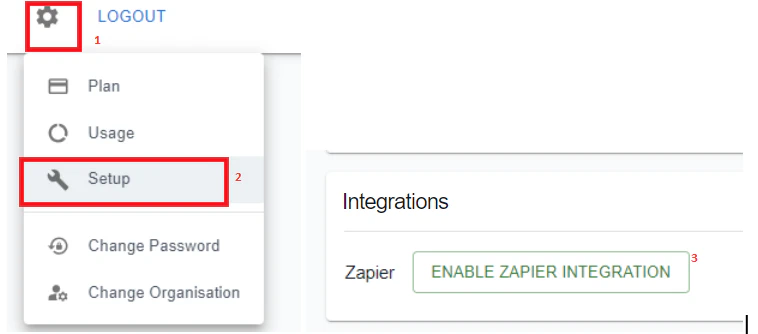
- After enabling Zapier integration, copy the Zapier Token and paste it on the Zapier connection configuration page.


- You have successfully connected to the Zapier integration with your Qryptal account. Now you are ready to set up workflow in your Qryptal account and configure Zapier integration to work with that.
Workflow Configuration
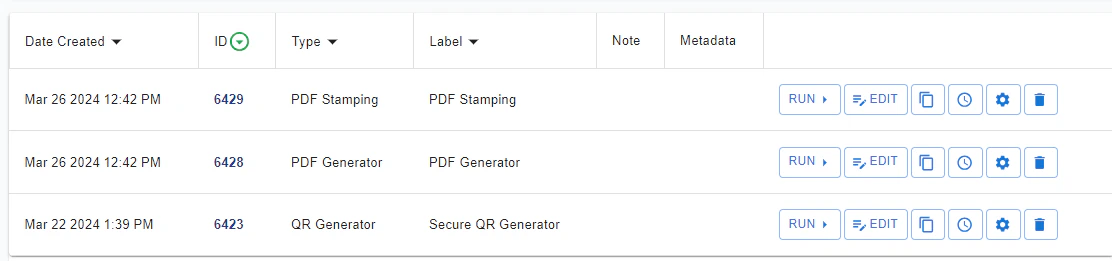
Once you enable your account for Zapier integration, you would see three default workflows under your account under your homepage (https://dash2.qryptal.com/user/workflow/home/).
a. PDF Stamping: To stamping an existing PDF file with Secure QR code to make it verifiable.
b. PDF Generator: To generate PDF files with Secure QR code using a pre-configured template.
c. Secure QR Generator: To generate Secure QR code.
Following steps will guide you to configure PDF Stamping workflow and use that in your Zap. Please get in touch with support@qryptal.com if you need any assistance and/or wish to configure Zap to make use of the PDF Generator or Secure QR Generator.
PDF Stamping Configuration:
- Click on Edit.

- Configure QR Code Size and Location: Choose a sample of the file to stamp and click on “Preview QR Placement” to define QR code size and location.
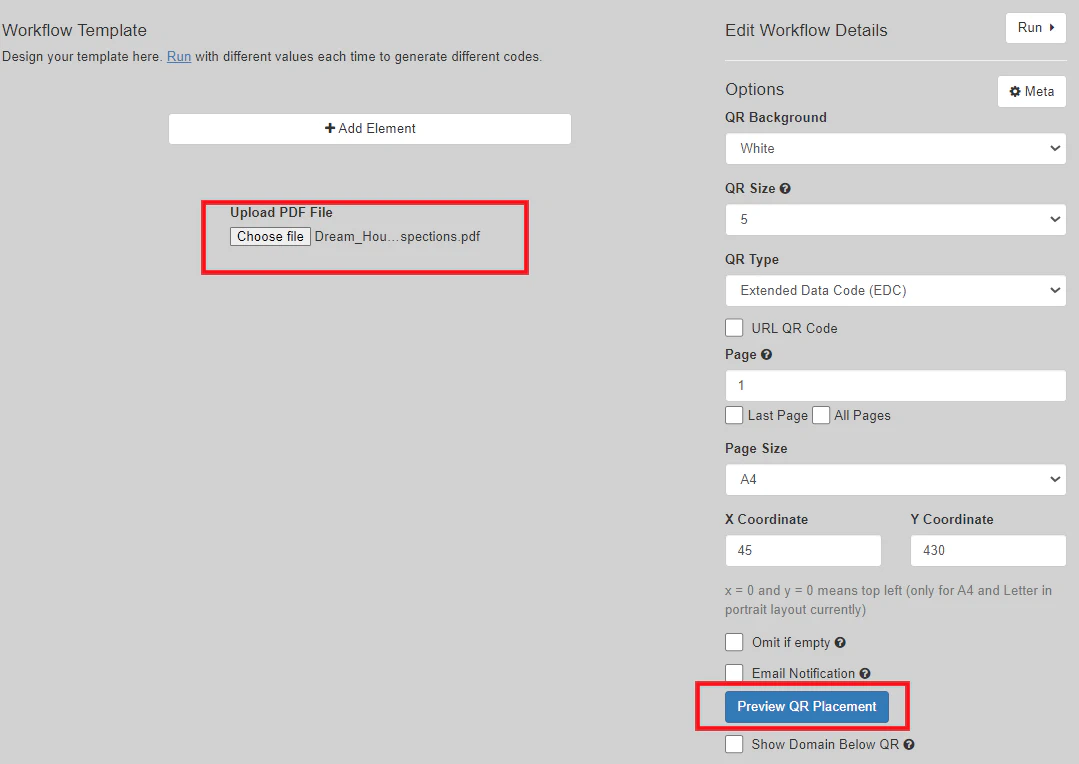
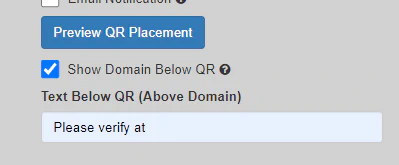
- (Optional) Choose verification text to appear below the QR code and also tick the box to mention verification domain below the QR code.
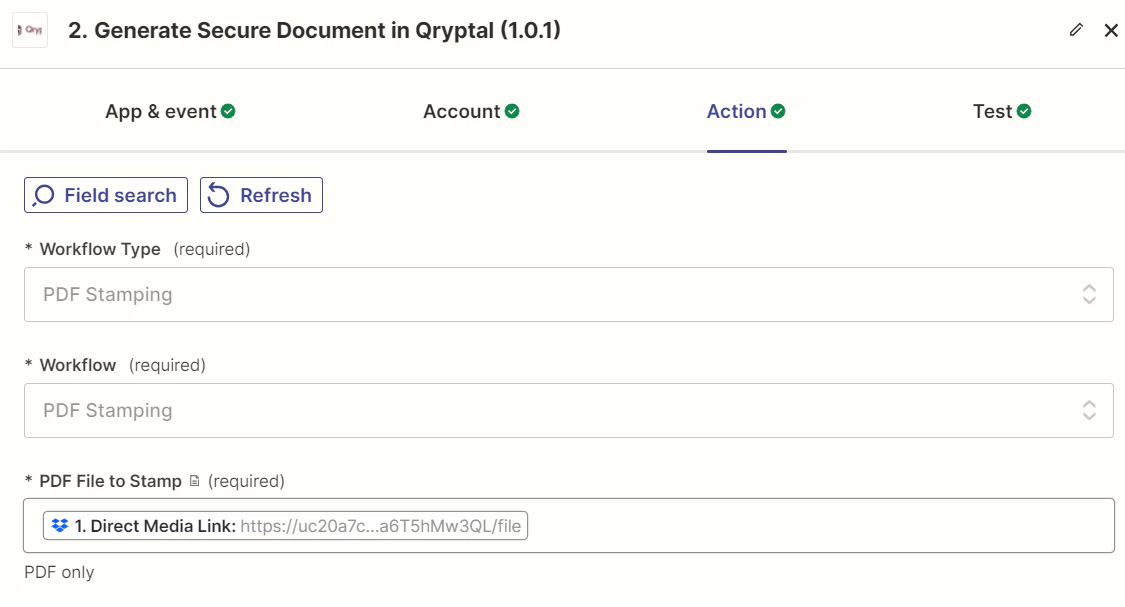
- Configure Zap to use this workflow
- Please note: All the files stamping using the same workflow will follow the same QR code size, location and other configuration. Please configure different workflows for different types of documents.